How to Choose the Best LED Hood Light for Your Needs?
Choosing the right Led Hood Light is more than selecting the brightest model on a product page. It affects visibility, comfort, energy use, and long-term maintenance. A powerful lamp can still create harsh shadows, glare, or uneven illumination across a cooking surface. That is not ideal.
Lighting expert James R. Benya offers a useful principle: “Quality matters as much as quantity.” His point fits hood lighting perfectly. Lumens show how much light a fixture produces, but they do not explain how that light reaches your countertop. Color temperature, color rendering, beam spread, heat resistance, and moisture protection also deserve attention.
Start with the hood’s dimensions and the distance between the lamp and your work area. A narrow hood may need a wider beam angle. A deep commercial hood may require stronger, more heat-resistant fixtures. Check the LED module’s voltage, connector type, and mounting method before ordering. Compatibility problems are surprisingly common.
Look for a suitable color temperature, often between 3000K and 4000K. Warm light can feel comfortable, while neutral white light may reveal ingredients more clearly. A high CRI rating can improve color accuracy, especially when checking meat, vegetables, or sauces. Small details matter.
Do not ignore cleaning conditions. Grease, steam, and repeated heat cycles can shorten a poorly sealed lamp’s life. Choose a durable housing and a reliable IP rating where appropriate. Certified electrical components also support safer installation.
The “best” Led Hood Light is rarely universal. It should match your hood, tasks, environment, and maintenance habits. I may overlook something too. That is why measuring first, checking specifications, and asking a qualified installer remain sensible steps.
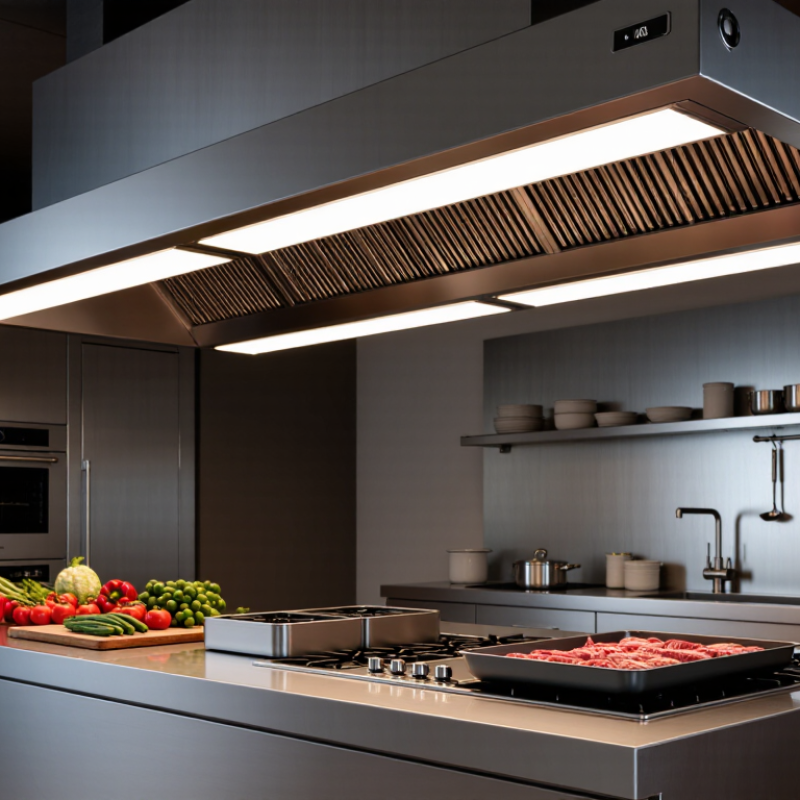
Understanding LED Hood Lights and Their Main Applications
How to Choose the Best LED Hood Light for Your Needs?
LED hood lights are compact fixtures designed for areas beneath kitchen or commercial ventilation hoods. They illuminate cooking surfaces while facing heat, steam, grease, and frequent cleaning. A suitable model should match the hood’s size, mounting space, voltage, and operating temperature. It should also carry appropriate electrical and safety certifications for your region.
In home kitchens, LED hood lights make chopping, frying, and checking food safer. A neutral white color temperature, around 4000K, often shows food colors clearly without feeling harsh. Commercial kitchens may need brighter output, wider coverage, and stronger resistance to moisture and grease. Look for sealed housings, smooth surfaces, and easy-clean lenses. Small details matter.
Check the light’s lumen output, beam angle, color-rendering performance, and rated lifespan. A high lumen number alone does not guarantee useful illumination. Shadows can still appear under deep hoods. In practical use, I would place the light centrally and test it with a pan on the cooking surface. It once seemed bright enough during installation, yet dark corners appeared during evening cooking. That mistake was useful. The layout mattered more than the specification sheet. Choose dimmable control only when the driver and hood wiring support it. Confirm compatibility before installation, and use a qualified electrician for fixed electrical connections.
Choosing the Right Size, Shape, and Mounting Configuration
Choosing the right LED hood light starts with the hood’s actual dimensions, not the package description. Measure the available length and width after removing the old lamp. Measure twice. Leave space for wiring, heat shields, and the filter frame. A light that is too long may block maintenance access. A narrow lamp can leave dark patches over the rear burners. For a wide cooking surface, two shorter lights often distribute brightness more evenly. This arrangement also reduces glare when you stand close to the hood.
Shape changes both coverage and cleaning effort. A slim bar suits long, straight hoods and creates a continuous light line. A compact rectangular panel fits shallow spaces, but it may look harsh without a diffuser. Round modules can work in curved housings, though their beam may miss the corners. Choose a sealed, easy-to-wipe housing for areas exposed to grease and steam. Check the light’s heat tolerance and electrical ratings against the hood manual. I once focused only on brightness and overlooked mounting depth. The lamp worked, but the filter could not slide out smoothly.
Mounting configuration deserves equal attention. Surface-mounted lights simplify replacement and suit solid hood panels. Recessed lights look cleaner, but they require accurate cutouts and internal clearance. Magnetic mounts allow quick removal, yet vibration can loosen poorly matched parts. Use fasteners designed for heat, moisture, and repeated cleaning. Confirm cable routing before drilling; hidden wires can turn simple installation into costly repairs. If wiring is unfamiliar, use a qualified electrician. Test the lamp while the fan runs. A secure fit matters more than a perfect appearance.
How to Choose the Best LED Hood Light for Your Needs?
Choosing the Right Size, Shape, and Mounting Configuration
Size: Choose a light that covers most of the hood width. Common hood widths are 24, 30, 36, and 48 inches.
Shape: Linear fixtures suit rectangular hoods, while compact round or square fixtures work well for smaller or centered cooking areas.
Mounting: Recessed mounting provides a clean finish, surface mounting simplifies installation, and adjustable mounting helps direct light toward the work surface.
Lighting target: The chart uses rounded fixture-output guidance based on approximately 500 lux of task illumination over a 24-inch-deep hood area, allowing for normal light losses.
Balancing Product Quality, Features, and Overall Cost
How to Choose the Best LED Hood Light for Your Needs?
Balancing Product Quality, Features, and Overall Cost
Choosing an LED hood light starts with the working environment, not the lowest price. Measure the hood’s width, mounting space, and distance from the cooking surface. A light that looks powerful in a catalog may feel weak over a wide range. Check the lumen output, beam spread, and color temperature together. Warm light can feel comfortable, while neutral white often shows food colors more accurately.
Product quality affects both safety and long-term cost. Look for a sealed housing, heat-resistant materials, and a reliable moisture rating. Grease and steam quickly expose weak construction. Inspect the diffuser, switches, wiring, and mounting hardware before installation. Some models advertise high efficiency but provide limited information about testing. That should raise questions. Certifications from recognized testing bodies can support trust, but they do not replace careful inspection.
Features should solve real problems. Dimming helps during quiet evening use, while a wide beam reduces dark corners. Easy cleaning matters more than decorative controls in a busy kitchen. Compare the purchase price with energy use, expected service life, and replacement difficulty. A cheaper unit may cost more after repeated failures. Still, premium features are not always necessary. I once valued excessive brightness over glare control, and the result was tiring during long cooking sessions. Choose practical performance, then leave room for honest reassessment.