How to Install an Exterior Door Easily and Perfectly?
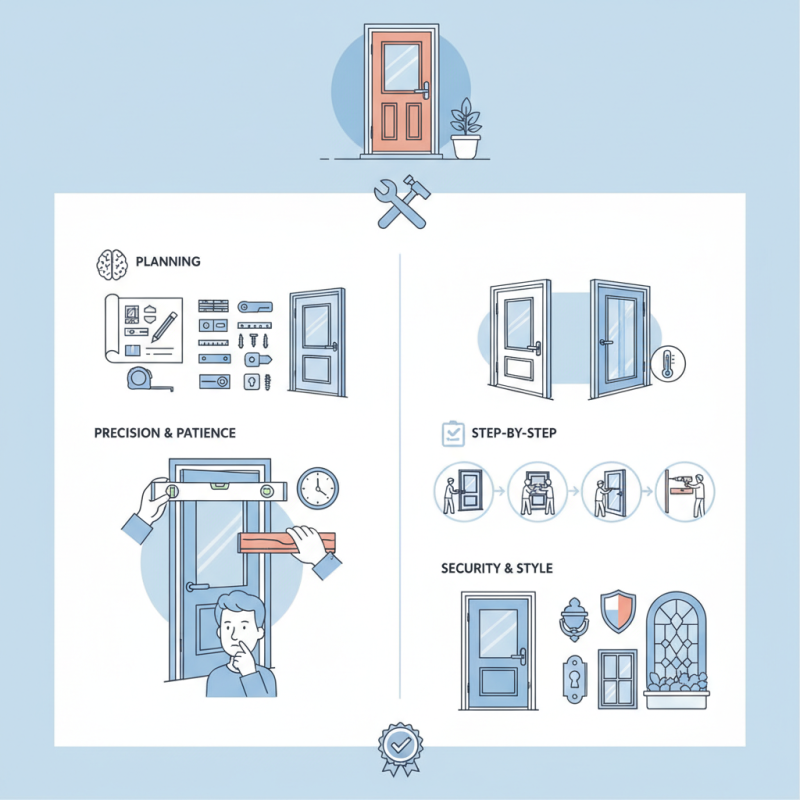
Installing an exterior door can be a straightforward task with the right guidance. Expert contractor John Smith emphasizes, “Precision and patience are key to a flawless exterior door installation.” Many homeowners feel overwhelmed by this project, but with careful planning, it can be manageable.
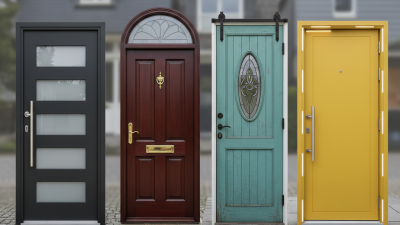
Consider the materials and tools you'll need before starting. Each door type requires different hardware and techniques. For instance, choosing the right frame is crucial for both aesthetics and insulation. A common pitfall is rushing through measurements, which can lead to misalignments.
It's important to take your time and double-check each step. An exterior door is more than just an entry point; it's a vital element of your home's security and style. Ensure that you allow for adjustments and be prepared to reassess as needed. Striving for a perfect fit can be rewarding, even if it's not always achieved on the first try.
Tools and Materials Needed for Installing an Exterior Door
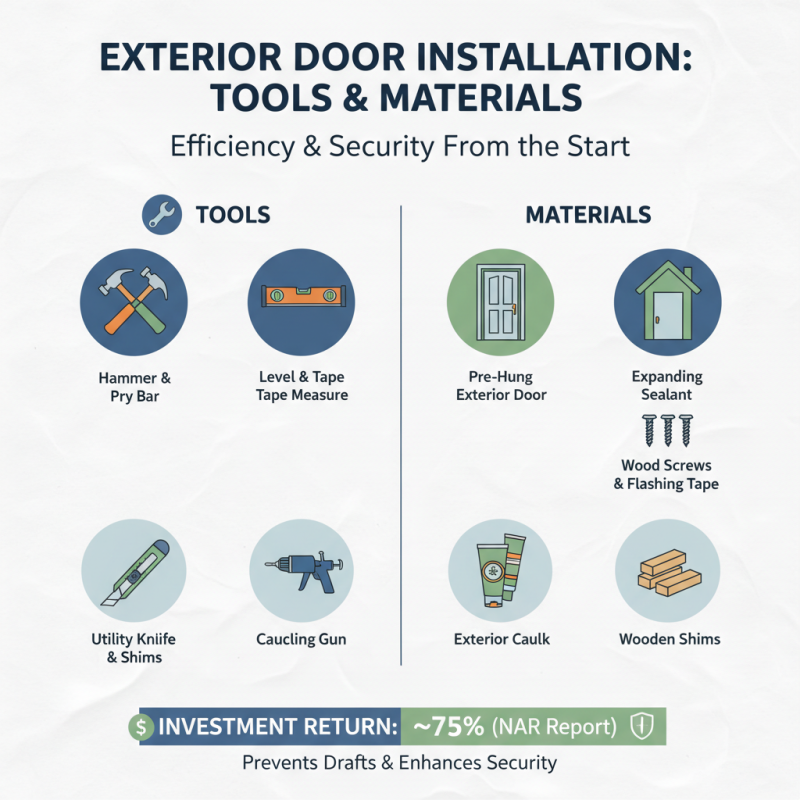
Installing an exterior door is a straightforward project with the right tools and materials. A report from the National Association of Realtors indicates that homeowners can recoup 75% of their investment in door replacement. However, improper installation can lead to energy inefficiencies and security vulnerabilities.
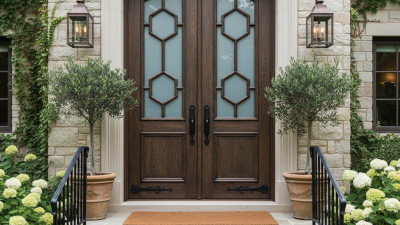
To start, gather essential tools like a tape measure, level, hammer, and screwdriver. A power drill is useful for securing hinges. Selecting quality materials ensures durability. A solid wood or fiberglass door is ideal for insulation. The frame should be sturdy and straight to prevent gaps. Additionally, weatherstripping and door sweeps help with energy efficiency.
Many overlook sealing the door properly. Neglecting this step can result in air leaks. According to the U.S. Department of Energy, doors account for about 5-10% of heat loss in homes. Use caulk around the frame and add a threshold to combat this. Mistakes in measurements are common. Always double-check dimensions to avoid costly errors. Proper attention to detail during installation will yield long-lasting results.
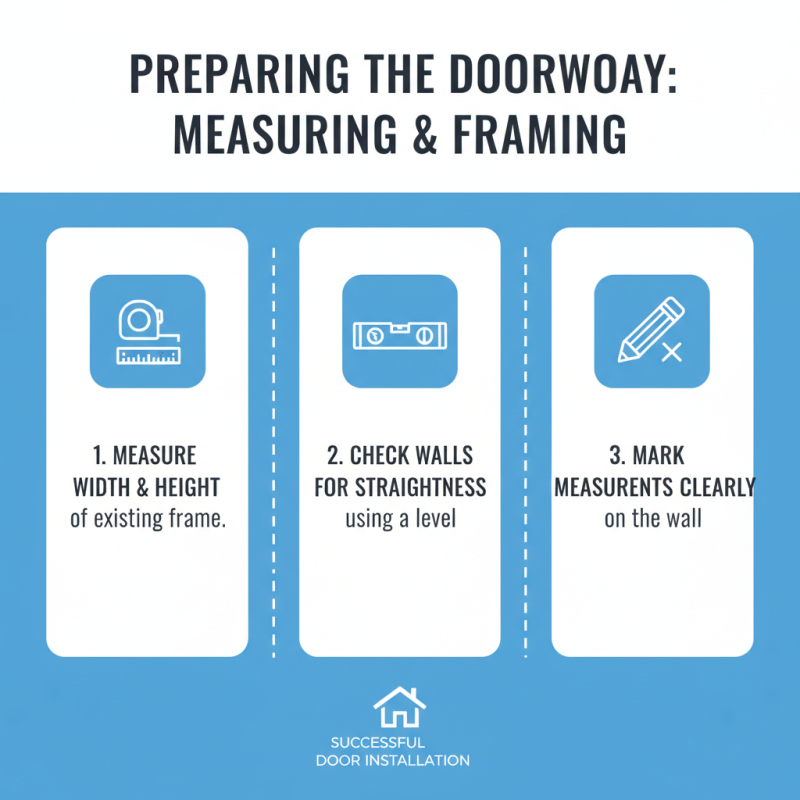
Preparing the Doorway: Measuring and Framing
Measuring and framing the doorway is crucial for a successful door installation. Begin by measuring the width and height of the existing frame. Use a level to check the straightness of the walls. Uneven walls can lead to ill-fitted doors. Mark the correct measurements clearly on the wall. This ensures accuracy when cutting or making adjustments.
Next, clear the area around the doorway. Remove any old trim or hardware to create a fresh workspace. It's often surprising how much debris accumulates in these areas. An organized space helps maintain focus. After clearing, check for any water damage, as this could impact the door installation. Consider reinforcing the frame if you find weaknesses.
Aim for a snug fit, but allow for minor adjustments. This can prevent future issues. Inaccurate measurements or uneven framing can lead to gaps. A door that doesn't close properly may require reinstallation. Reflection on your technique during this process is vital. If something doesn’t feel right, reassess your measurements and framing. Precision during these initial steps ensures a seamless installation later.
Step-by-Step Guide to Removing the Old Door
Removing an old exterior door is an essential step in upgrading your home. It is often a straightforward process, but it requires precision. The door's frame is typically secured by screws, hinges, and possibly adhesive. According to the National Association of Home Builders, improper removal can lead to damage in your home’s structure.
Begin by removing the door handle and lockset. Use a screwdriver to unscrew the plates. Ensure to put all hardware in a safe place. Next, remove the hinges. Have a helper support the door to prevent it from falling. This step can be tricky, as heavy doors can cause injury if not handled properly. It's notable that around 30% of homeowners report injuries when attempting to remove heavy doors, highlighting the need for caution.
As you detach the door from its frame, check the condition of the frame and threshold. Warping or rotting indicates that further repairs are necessary. Did you notice that many homeowners skip this inspection? It can lead to complications in the installation of a new door. Reflecting on the condition of the old door helps to ensure that your new installation is successful and secure. Proper removal sets the stage for an easy installation of the new door.
How to Properly Install the New Exterior Door
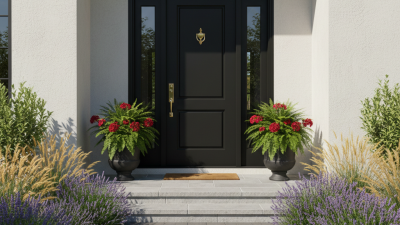
Installing a new exterior door can profoundly impact your home. A well-installed door enhances security and increases energy efficiency. According to the National Association of Home Builders, 66% of homeowners reported better insulation after installing new doors. This underlines the importance of proper installation.
Begin by measuring the door frame accurately. Use a level to check if the frame is square. If it's not, shimming might be necessary, yet this can be tricky. A report from Remodeling Magazine indicates that 25% of door installations have issues due to improper shimming or leveling. These mistakes can lead to gaps, causing drafts or water penetration, which may affect your home's comfort and integrity.
When securing the door, make sure to use high-quality screws and verify the alignment again. Often, misalignment occurs even after careful measuring. This can create challenges with door functionality. Remember, a small error here can lead to significant long-term problems. Regular inspections and maintenance are essential for a properly functioning door. Being diligent in the installation process can save you from expensive repairs in the future.
Sealing and Finishing Touches for a Perfect Installation
Sealing is a critical step in installing an exterior door. Without proper sealing, you might see gaps that let in drafts or moisture. Use a high-quality caulk to seal around the edges of the door frame. Pay close attention to the corners, as they often are the most vulnerable. If the caulk is applied too thickly, it may not adhere well. Smooth out the caulk with your finger for an even finish. This might take some practice to get right.
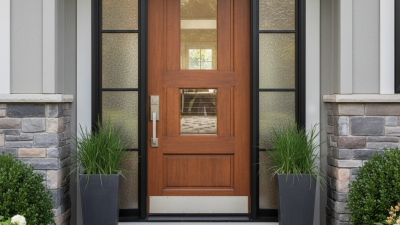
Finishing touches can elevate the entire installation. After sealing, consider adding trim or molding around the door to provide a polished look. Choose materials that complement the door and your home’s style. When securing the trim, a few misplaced nails can create gaps. Ensure that everything aligns properly. You might need to sand down any rough edges for a neat appearance.
Check for any draughts a few days after installation. If you notice any, it indicates that something might have been missed during sealing. It's essential to reflect on these details. A well-sealed and finished door not only enhances the home’s aesthetics but also improves energy efficiency. Taking the time to perfect these steps is worth the effort.